General Interface
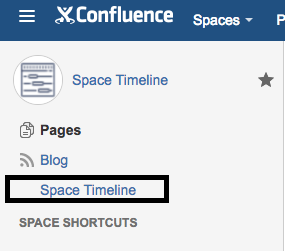
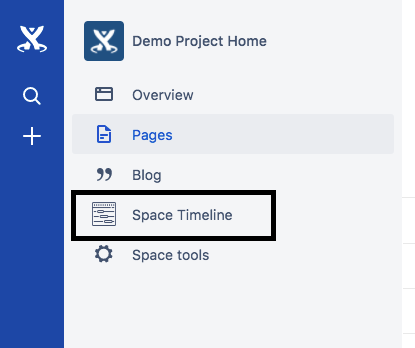
The first entry point to the add-on is in the space sidebar. The location is slightly different depending on whether your Confluence Cloud instance has been updated to the newer interface or not.
Old interface:
New interface:
After loading the full screen overlay, you are introduced to the intro screen:
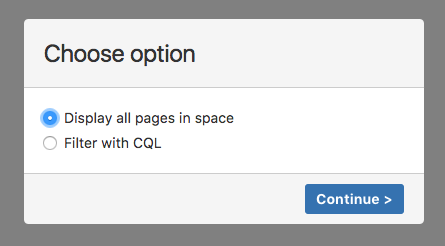
Clicking continue will load all the pages in the space.
If you want to further filter pages (including returning pages from multiple spaces), choose the second option and click continue.
For more information about filtering with CQL, please read the page Filtering with CQL.
After all pages are loaded, you will be presented with the timeline of all pages in the space (or according to the CQL filter you have defined):
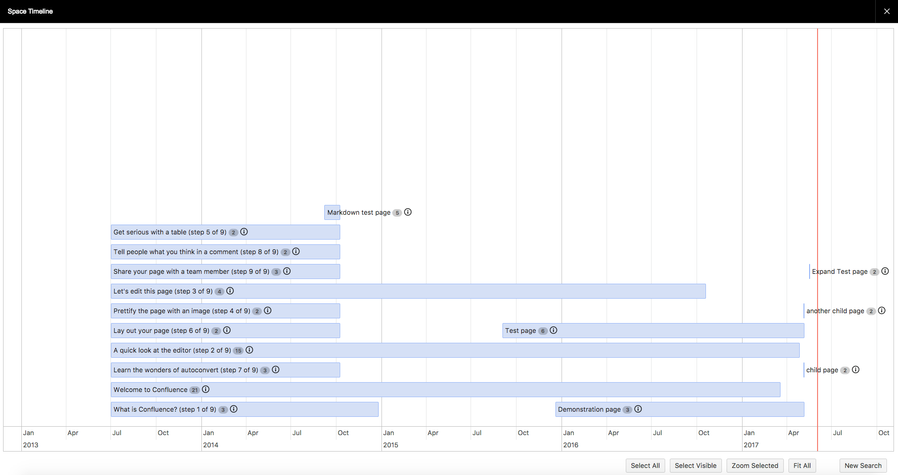
The pages are shown as a bar which extends from the time of creation until the time of last update.
If the page has not been edited since it was created, it will be displayed as a yellow box with a dot on the timeline at the time of its creation.
You can zoom in and out of the timeline using the mouse scroll wheel.
You can scroll left and right (and also up and down if there are too many pages) by clicking on the background and moving it in the desired direction.
Next to the title is a count of page edits, and next to that is an info icon, which can be hovered over to get more information and a link to the page:
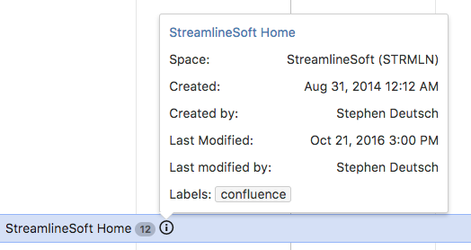
The links will open in a new window, so you can navigate there without worrying about closing out the timeline interface.
You can select a page on the timeline by clicking on it, and it will change color.
You can select a range of pages by holding down the Shift key and selecting another page.
You can also select/deselect pages one by one by holding the Ctrl key.
Note that on a Mac this is also often mapped to the right-click action, but it will still work.
Selecting at least one page will reveal the actions bar. For more information see the page Multiple Page Actions.
In the bottom right corner, you'll notice some timeline actions, including some that will help with selection:

Clicking Select All will select all pages in the timeline.
Clicking Select Visible will only select all pages currently on the visible screen.
If using this option, be sure to zoom out slightly to verify that there was not a page that was slightly onscreen but not visible at first glance.
Clicking Zoom Selected will change the zoom level to fit only the selected pages.
Clicking Fit All will zoom out to display all pages on the screen (same as the initial loaded view).
One common use case for the timeline action buttons is when there are some outlier pages, either really old or really new, and the other pages are all bunched up.
In this case, click Select All to select all pages, hold down Ctrl and deselect the outlier pages, and then click Zoom Selected in order to focus only on those pages.
If you want to search again (perhaps changing the filter), then you can click on the New Search button in the bottom right corner.
Once you are done, simply click the X in the upper right corner or press the ESC key to return the page you were viewing before you opened the space timeline.